Table of Contents
Start Page » DEMoCap: Drag[en]gine Motion Capture » Tutorial: Capture Motion
Capture Motion
Select Character
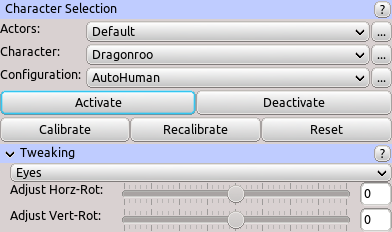
- Select Character to use from dropdown next to Character label.
- Select Configuration to use from dropdown next to Configuration label.
- Click Activate button below Configuration label. The character is now placed in the world.
Calibrate
- Click Calibrate to start the calibration process.
- Put on the HMD. The instructions are shown.
- Place your feet parallel to each other (not angled) nearly touching each other.
- Strike a T-Pose with your arms spread sidewards.
- Keep your controller in relaxed pose as if pointing to the side. In this pose the palms in your curled hand points forward.
- Look straight ahead.
- Pull and release either the left or right hand controller Trigger to start the calibration warm-up phase. The warm-up phase is not used for calibration and is present to allow your hands to return to a steady position after pulling and releasing the trigger. This produces better results than keeping the trigger pulled. After the warm-up progress bar fills up the actual calibration begins with the second progress bar filling up. Once filled the calibration is finished. To cancel calibration press the menu button on either controller.
- Once both bars filled up the overlay is hidden and the calibration is finished.
The Character is now calibrated against the actor (yourself). You can now examine the result using the VR Mirror.
You can trigger this process (select character and start calibration) from within VR view using the VR Menu.
You can quickly start calibration without using the VR menu by pressing the menu button on both controllers at the same time while pulling the trigger on both controllers. Hence pull and hold both triggers then press both menu buttons at the same time.
Start Capturing
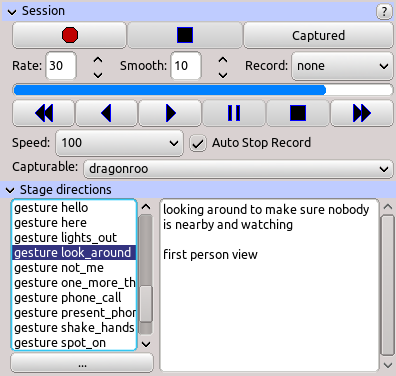
- If you are using a capture operator he can start the capture process by clicking on the Record.
- If you are alone you can start the capture process by clicking the Record from the VR Menu.
- The Ready Capture overlay is shown in the HMD.
- A preparation timer of 3 seconds runs until the capture starts. The progress bar fills up during this time. Press the Menu button to cancel recording.
- Once the bar filled up the overlay is hidden and a Record Icon is shown in the upper right corner of the HMD.
Stop Capturing
- Press the left or right controller Menu button to stop the recording.
The recorded animation is stored into a pair of capture files. One file is the animation (*.deanim) and the other file contains information about the capture (*.demca). The capture directory is located here:
- Linux: ~/config/delauncher/games/e31f1c11-3ca6-c66b-adca-95484bedfc1f/capture/animations
- Windows: %AppData%\DELaunchers\Config\games\e31f1c11-3ca6-c66b-adca-95484bedfc1f\capture\animations
Once saved another capture can be started producing a new file. It is recommended to do short capture sequences instead of long ones.


