democap:tutorialsceneobjects
Table of Contents
Start Page » DEMoCap: Drag[en]gine Motion Capture » Tutorial: Scene Objects and multi character capturing
Scene Objects and multi character capturing
Since version 0.4 the panel has been split up. See Panel Project and Panel Capture to locate the widgets.
Add Scene
- Next to label Scene click on button … and click on Add…
- Enter name for scene to add. Name has to be unique
- In combo box next to label World select the world file to use.
- Click on button … next to combo box and click on Activate World to activate world. This clears the scene of all objects and loads the world
Add Scene Objects
- Next to label Object click on button … and click on Add….
- In the dialog box select the Object Class to use for the scene object. Object classes can be basic object classes or derivations thereof using XML Element Classes (*.deeclass). These are basic object classes:
- ActorMarker: Adds a 3D marker on the floor. This can be used to designate locations actors have to be for doing motion capture or for other purpose. Actor markers can be teleported to by using the yellow teleport handle.
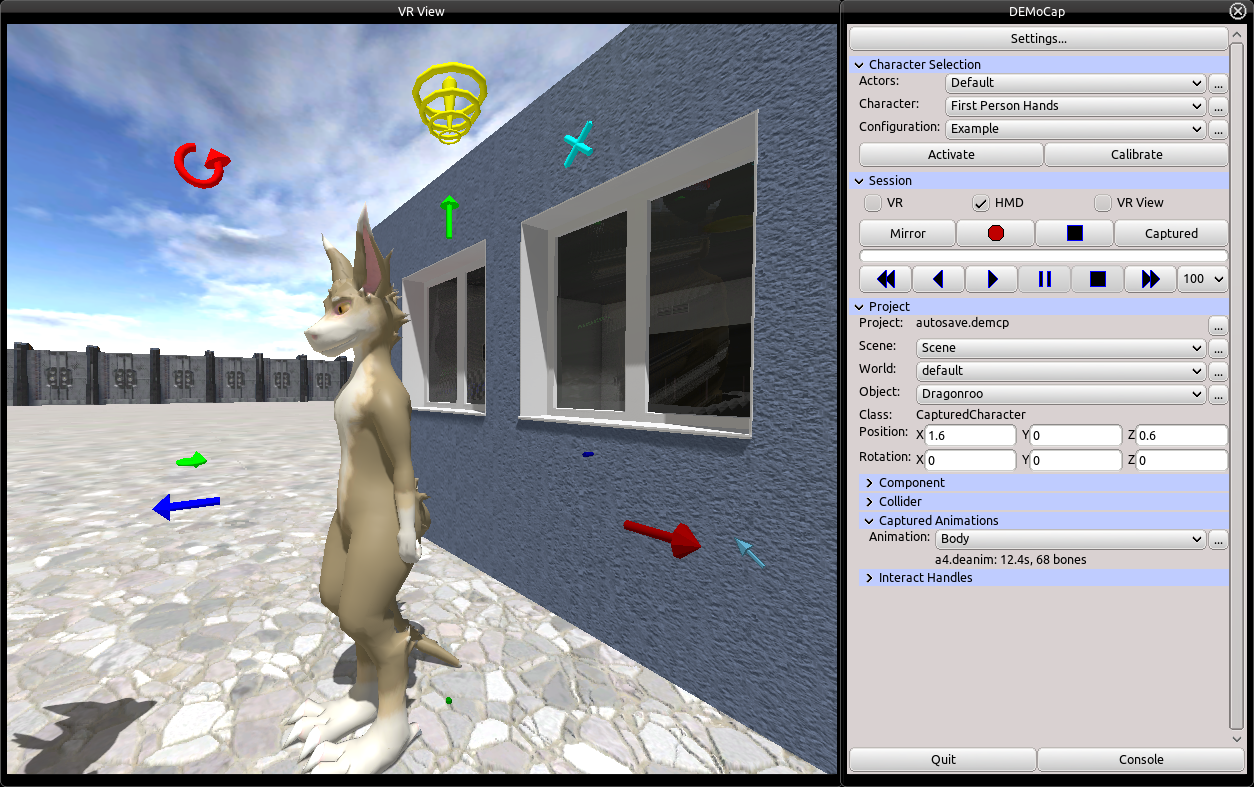
- CapturedCharacter: Adds a character to capture motion for. Requires a character to be activated first.
- DynamicProp: Adds a props that can be moved and optionally affected by physics. Once added you have to set the model, skin and rig resource to use.
- StaticProp: Adds a prop that can is static which represents scene geometry. Once added you have to set the model, skin and rig resource to use.
- Click button Add Object to add the scene object. It is automatically selected.
Change Object Parameters
- Select Character to use from dropdown next to Object: label or use VR pointer to select it.
- In the edit fields below the object properties are shown grouped by Behaviors. Only imporent properties are shown to not clutter the interface.
Capture Character
- Select animation to capture into from the Captured Animations group combo box next to label Animation.
- After adding a new CapturedCharacter you have to add an animation using the … button.
- Activate Character Configuration with matching Character Profile.
- Trigger the Teleport Handle (yellow handle above head) to line up the actor with the character to capture
- Start recording as outlined in Capture Motion
- After finishing the capture the animation file containing the animation is shown below the animation combo box. This file is located in the project data directory.$
You could leave a comment if you were logged in.
democap/tutorialsceneobjects.txt · Last modified: 2022/08/07 16:01 by dragonlord


